Before you start, you will need a live Hyper account. We recommend connecting at least one app to unlock the full power of AI automation and see how virtually any task becomes possible.
Step 1: Go to the Chat Page
Navigate to https://app.hyperfx.ai/chat to access the chat interface.
Step 2: Configure Chat Settings
Chat Mode Settings
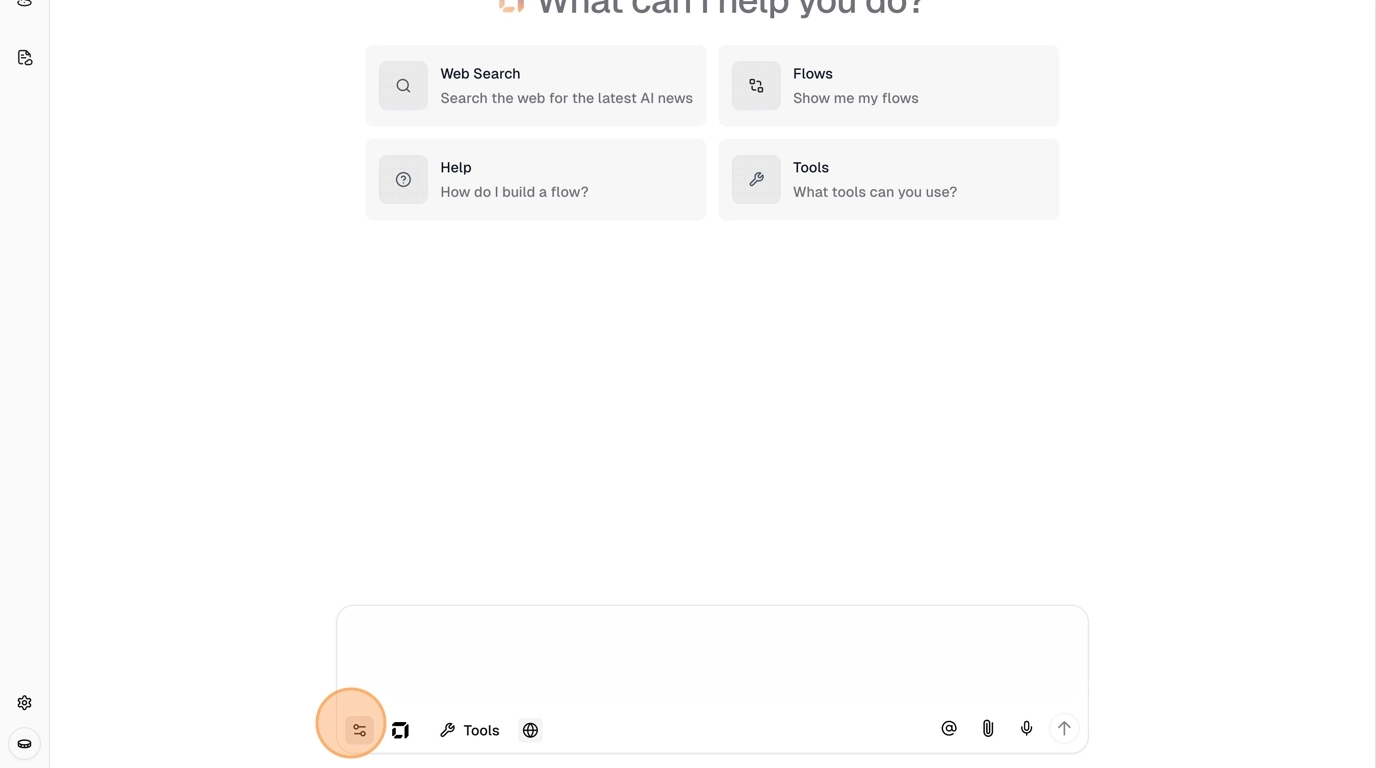
In the chat input area, you can manage chat mode settings by clicking the settings icon on the bottom left. The available modes are:- Thinking: Allows the agent to think more deeply through each step, great for complex tasks
- Planning: Enables the agent to create detailed plans before execution, ideal for multi-step tasks
- Approval: Human-in-the-loop for sensitive tools - the agent waits for your approval before executing actions
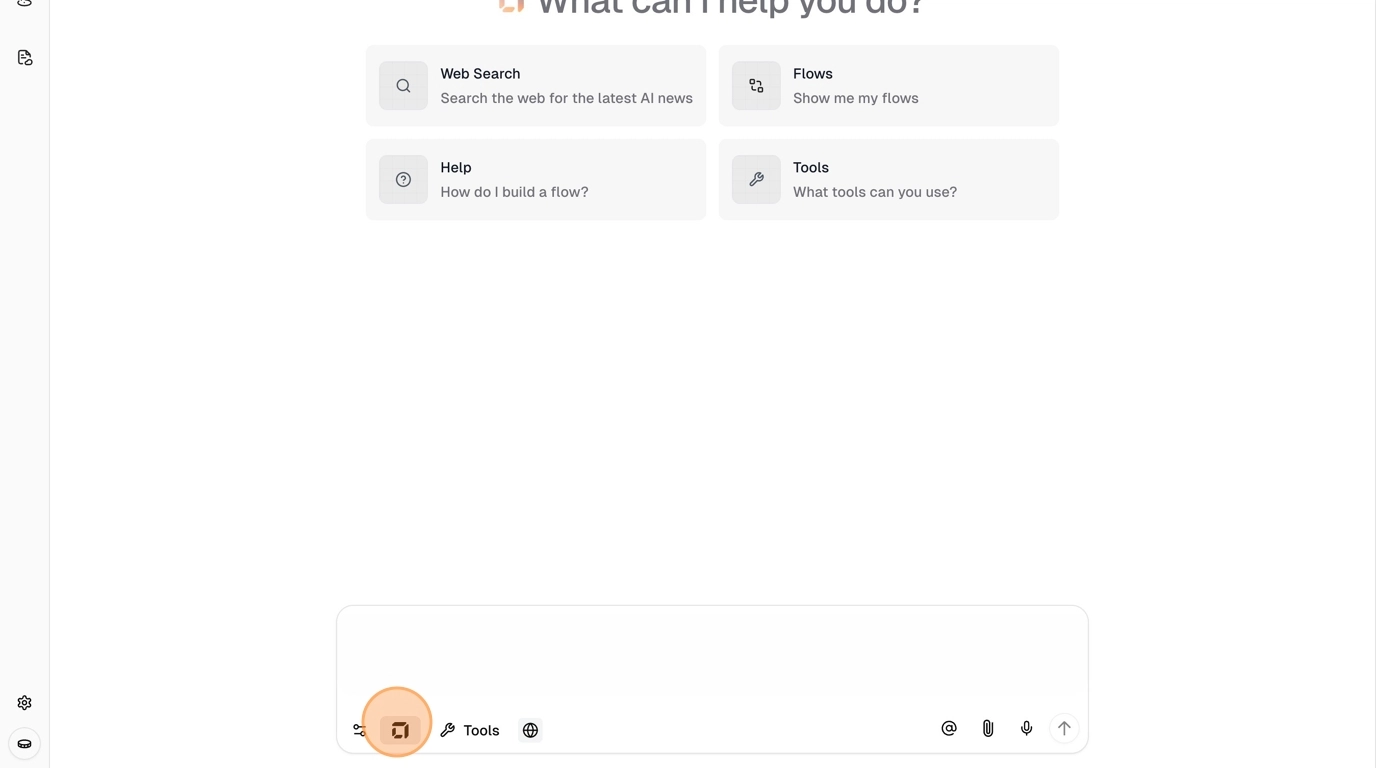
AI Model Selection
To the right of the chat mode settings, click the Hyper icon to choose between available AI models:- Hyper-Plus: Our default and most powerful model, optimized for tool execution and complex tasks
- Other Models: Various provider models available, though Hyper-Plus performs best with our tools
- Custom Agents: Hover over this option to enable one of your custom agents, which auto-applies agent settings and tool access
Tool Selection
Click the toolkit modal to choose which tools and app integrations your agent can access.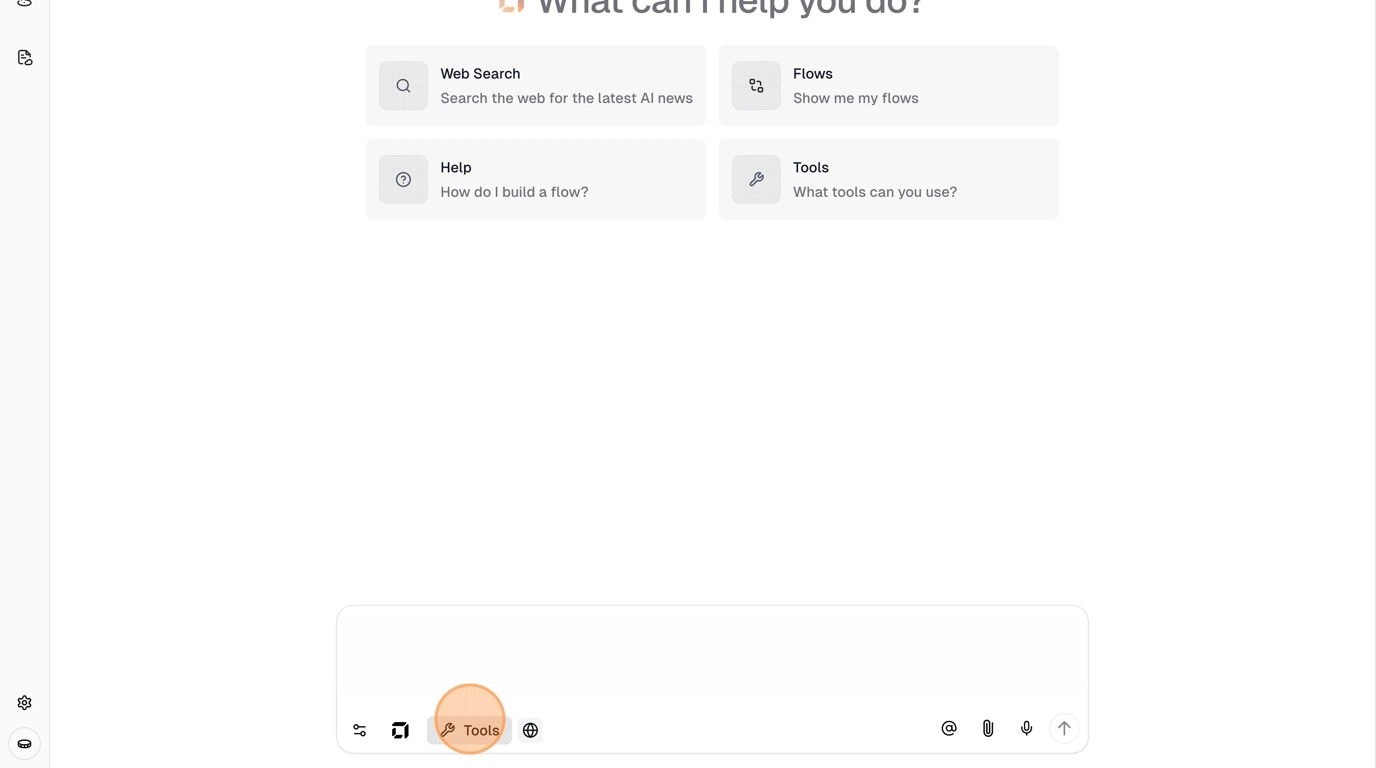
Step 3: Use Advanced Features
Adding Memories
Click the @ button in the chat input to add memories to your agent. This provides additional context that you want your agent to remember across conversations.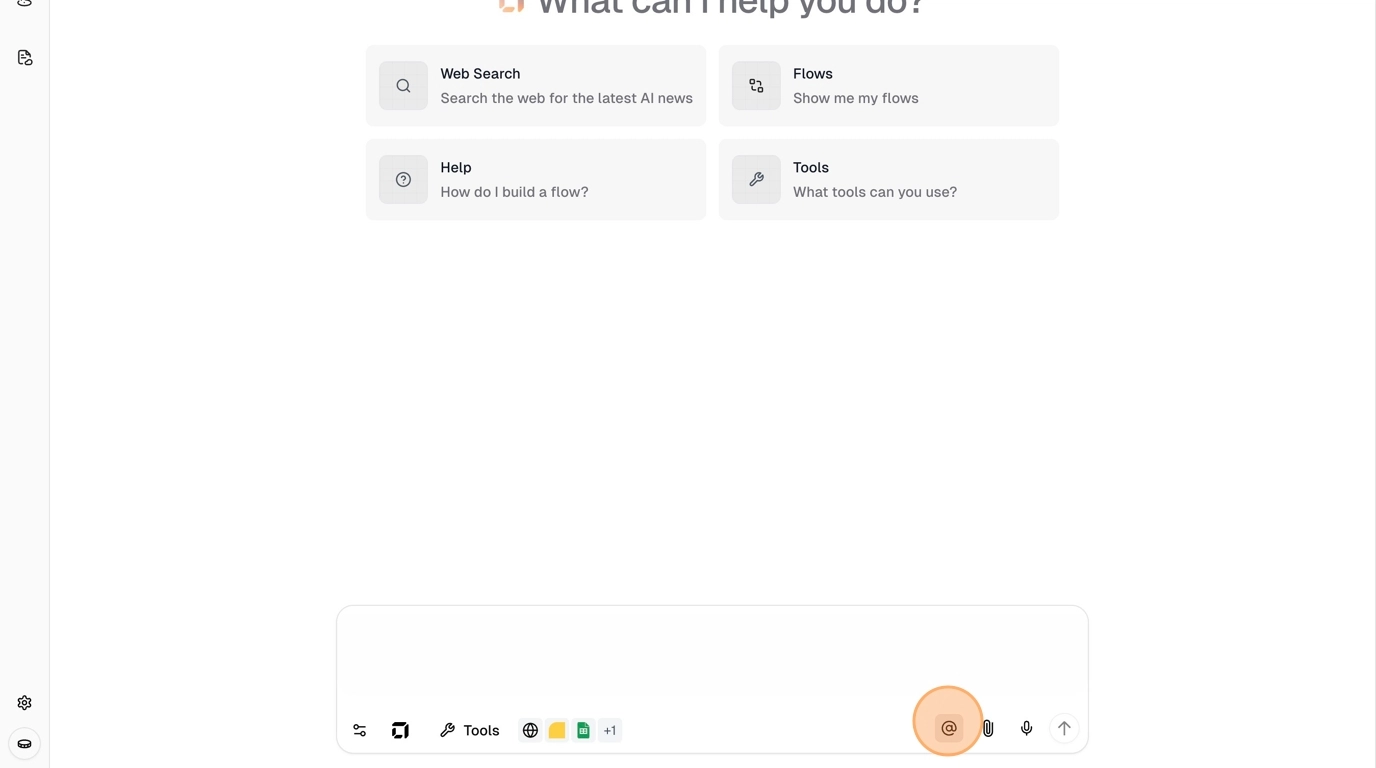
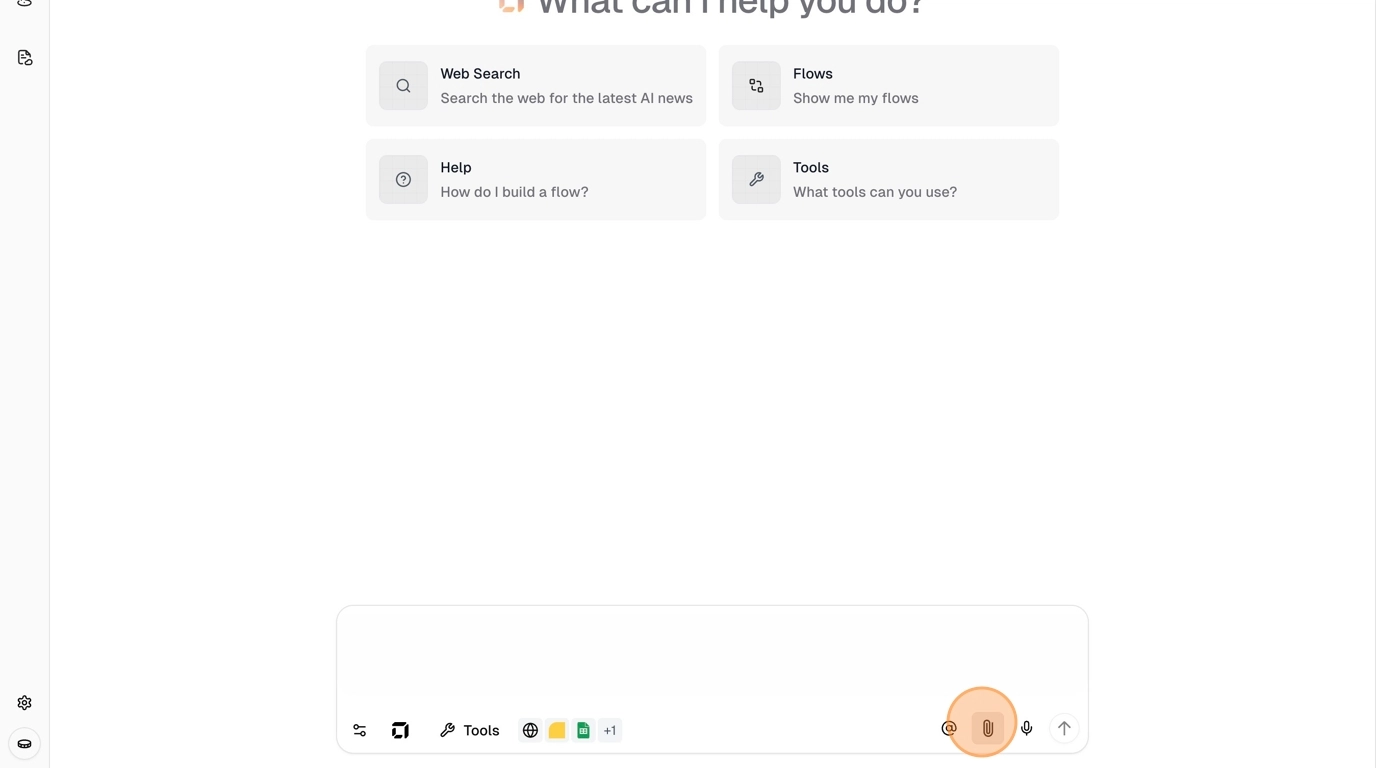
File Uploads and Voice Dictation
- Paperclip Icon: Upload images, files, and other documents to share with your agent
- Dictation Icon: Use voice input to talk naturally with your agent - transcribes speech to text
Chat Examples
Here are some example requests to get you started:- Lead Generation
- Marketing & Ads
- Data & Automation
- “Use Apollo to find SaaS startup founders and add them to my Google Sheets CRM”
- “Create LinkedIn posts about our latest product features and schedule them for optimal engagement”
- “Find my HubSpot warm leads and create Google Calendar meetings with them”
Tips for Better Results
- Be specific: Include details about what you want to accomplish and expected outcomes
- Provide context: Mention timeframes, specific files, people, or business objectives
- Use voice dictation: Talk naturally to provide richer context and instructions
- Enable appropriate modes: Use Thinking for complex analysis, Planning for multi-step tasks
- Select relevant tools: Only include the integrations you need for your specific task
Working with Tool Results
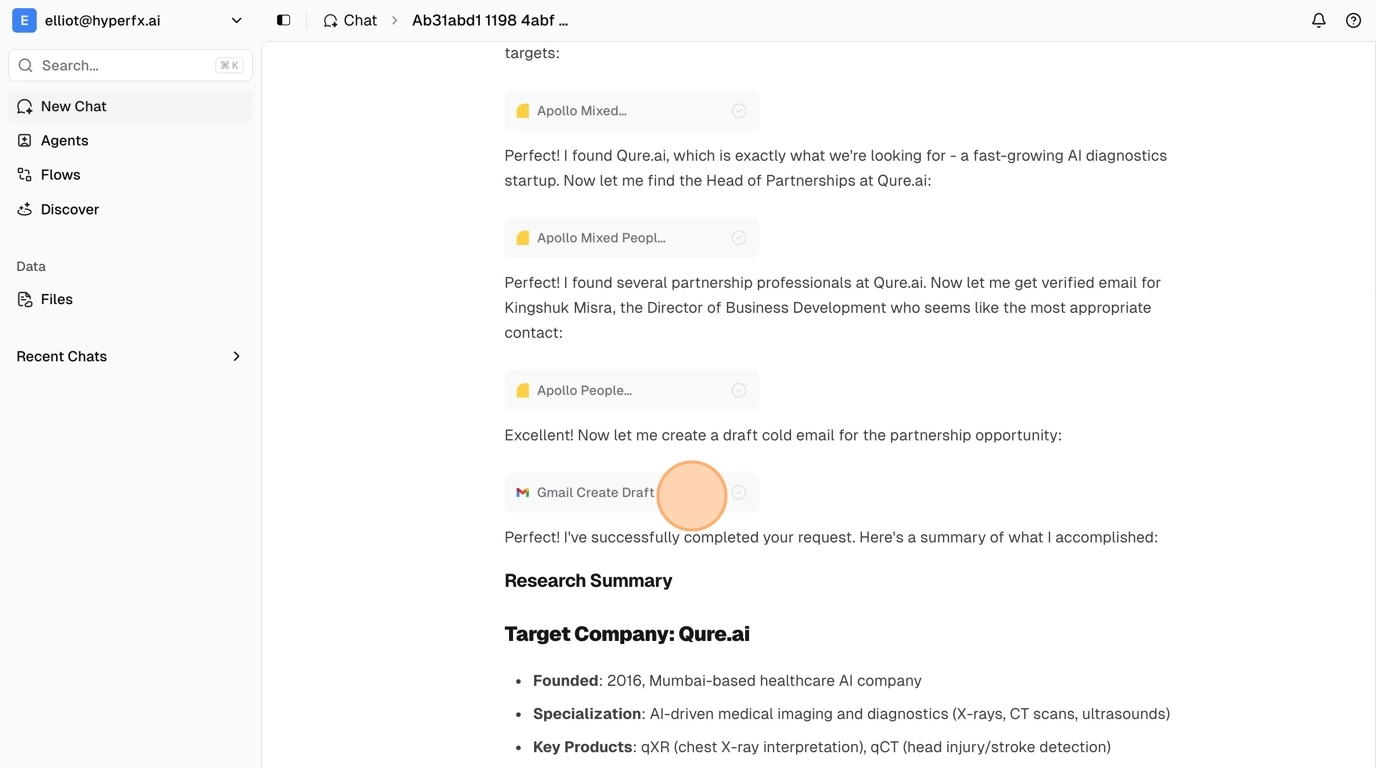
Once your agent starts executing tasks, you can interact with the results in several ways to get the most out of your chat experience.Expanding Tool Cards
In chat, you can expand each tool card to see the results associated with the tool. When using tools that involve artifacts, like flows, code interpreter and web browsing, you can click “View artifact” and the artifact will deploy on the right side of the chat screen.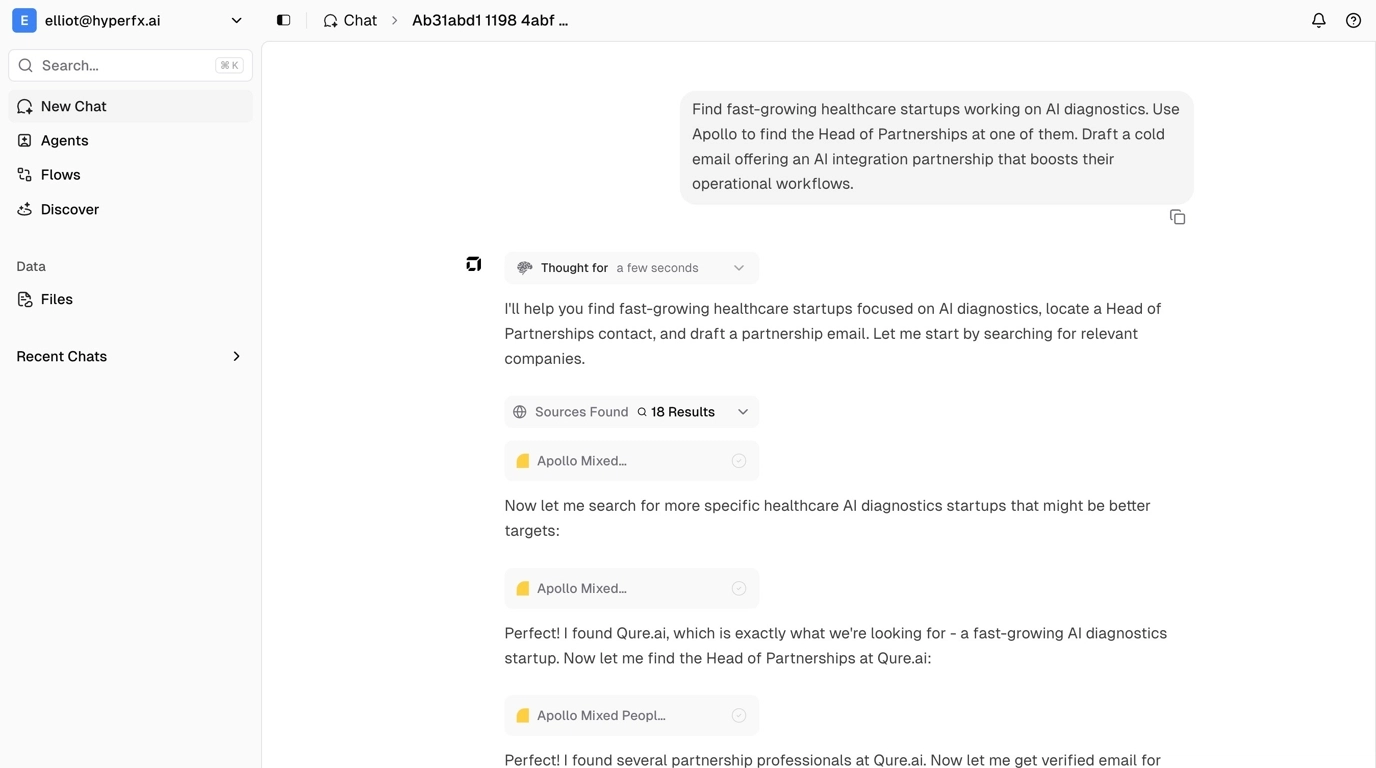
Viewing Tool Outputs
For example, if you want to see an email draft that’s been created without going to your email, you can click on the tool card to expand it and view the tool output directly in the chat interface.