Before you start, ensure you have at least one app connected in Settings → Apps.
Access the Flow Builder
Navigate to https://app.hyperfx.ai/flows where you can see all your flows, active workflows, scheduled runs, and credit usage from the last 7 days. In the flow table, you can see each flow’s status - flows must be Live/Active to run, which you do by publishing the flow. Click “Create Flow” to start building your first workflow.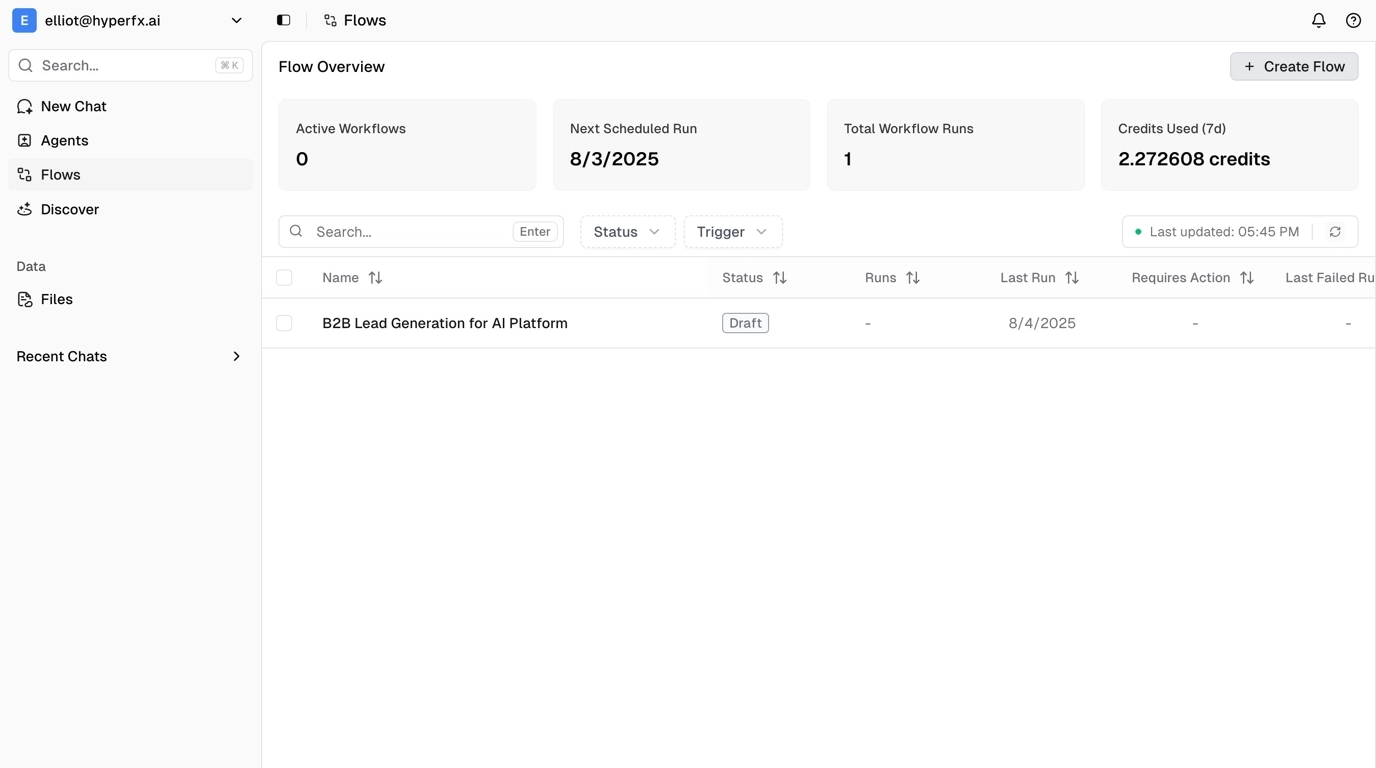
Set Up Your Workspace
We recommend collapsing the sidebar by clicking the button to the right of your avatar in the top left. This gives you more room to see the flow drag-and-drop area in the editor.
Configure Your Workflow
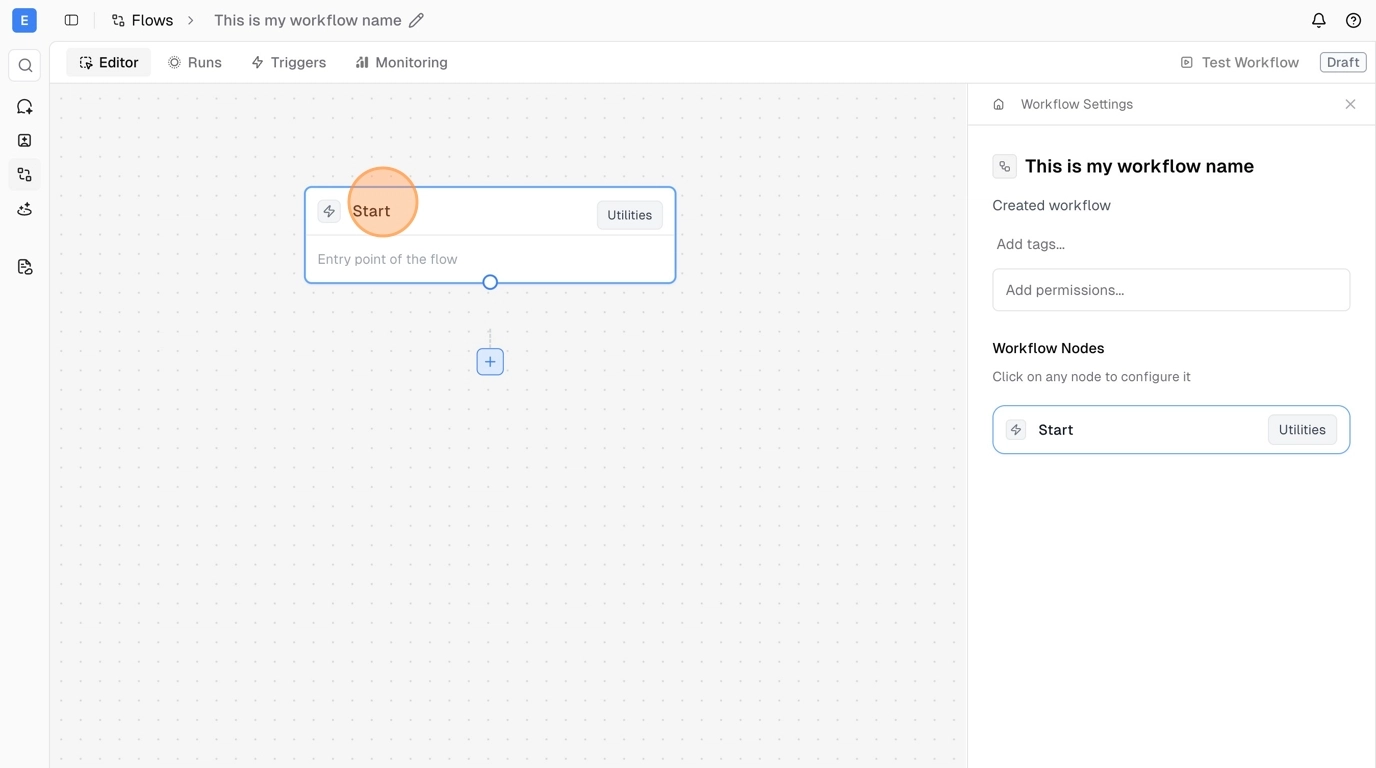
In the workflow settings panel, you can name your workflow, add a description, and quickly access your available nodes. You can navigate between nodes either by clicking them in the editor or from the settings panel.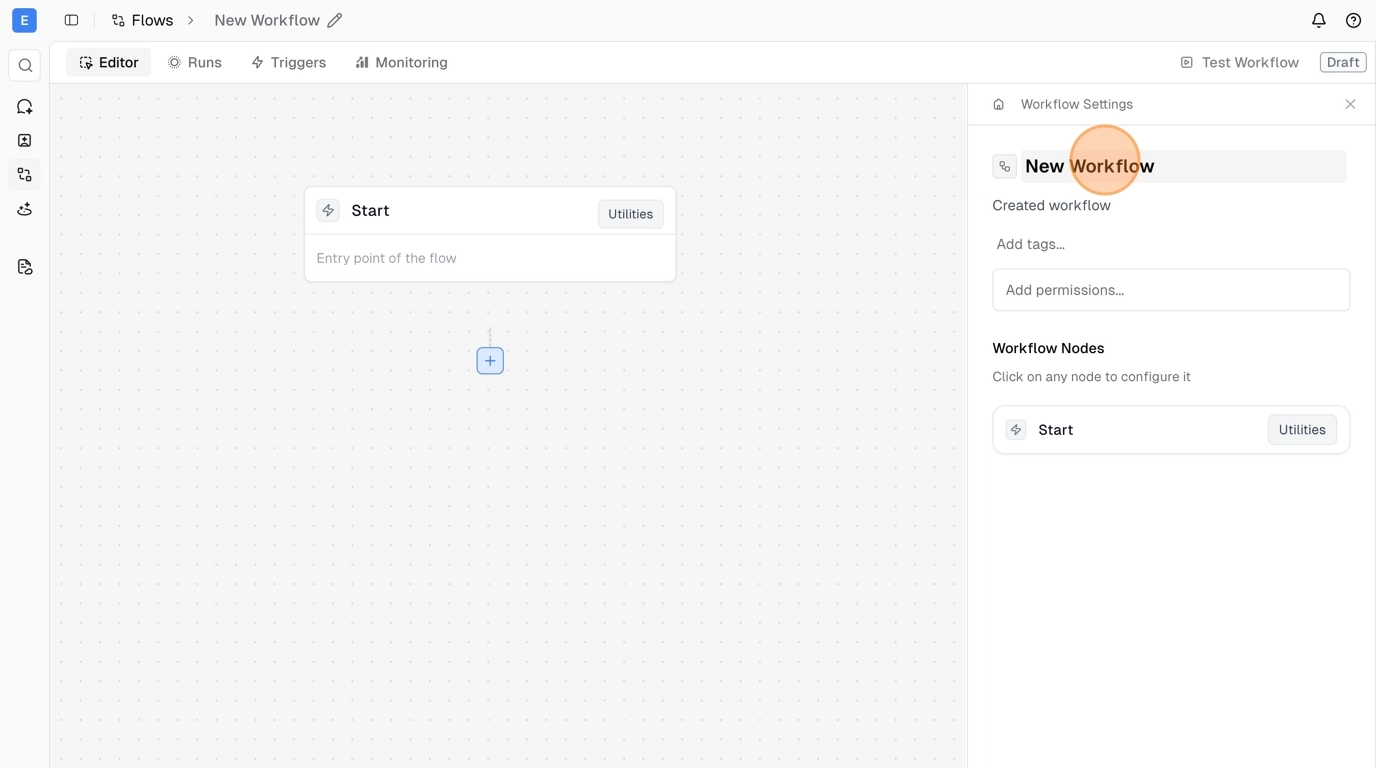
Set Up Your Trigger
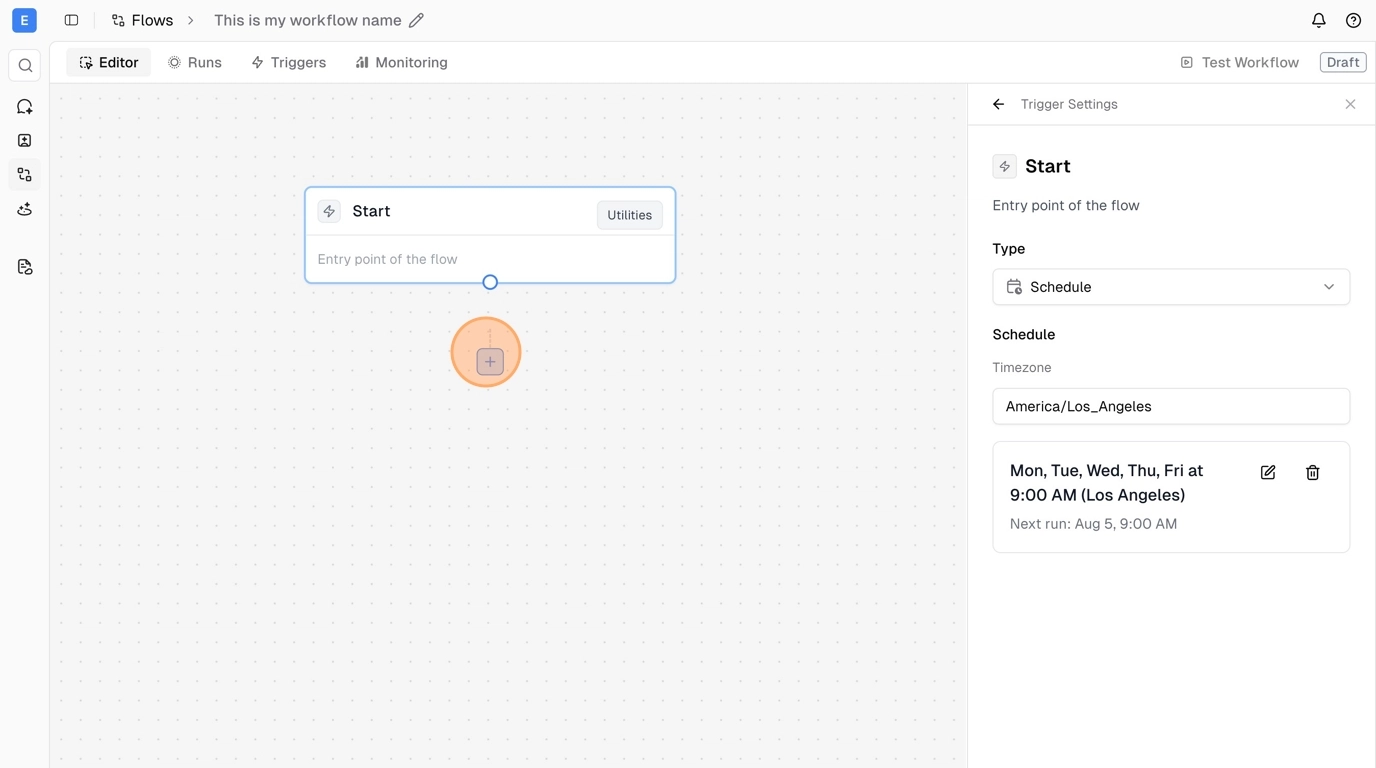
Click on the trigger node (Start node) to configure when your workflow should run. You can choose between different trigger types:- Schedule - Run at specific times (every minute, hourly, daily, weekly)
- Message - Trigger from chat or external messages
- Webhook - Trigger from external systems
- Manual - Run on-demand
Add Actions and Agents
To add steps to your workflow, click the blue + on any node or use the + in the flow dock at the bottom of the editor. You can choose between:- Agents - Have access to tools and can make intelligent decisions
- Tools - More programmatic, direct actions
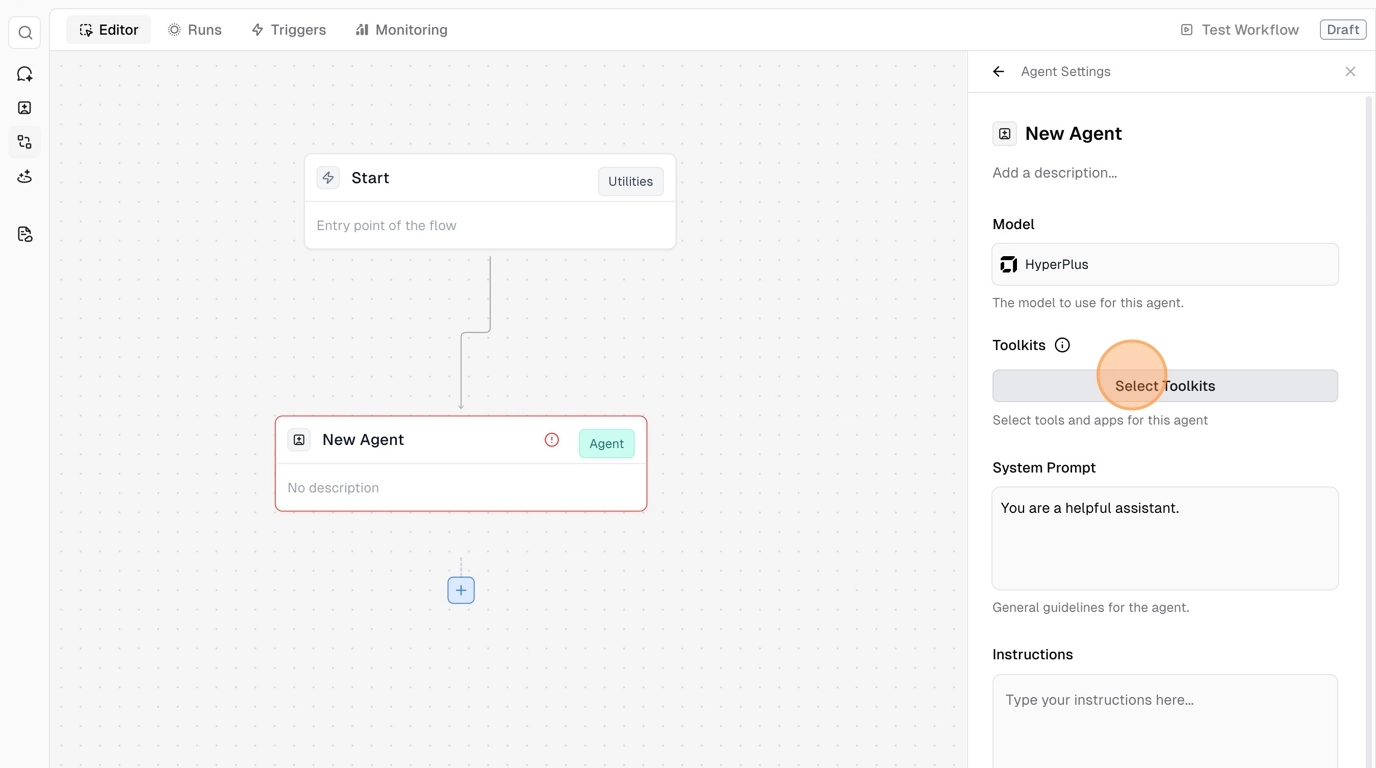
Configure Agent Settings
When you add an Agent node, you can configure which tools it has access to:- Select Toolkits - Choose which integrations the agent can use (e.g., Gmail)
- Select Connection - Choose which specific account connection to use
- Set Approval Requirements - Decide if certain actions require human approval
Add Instructions
In the agent panel, add your system prompt and instructions. For example: “Check my Gmail for any emails that require a response, and go ahead and respond for me.”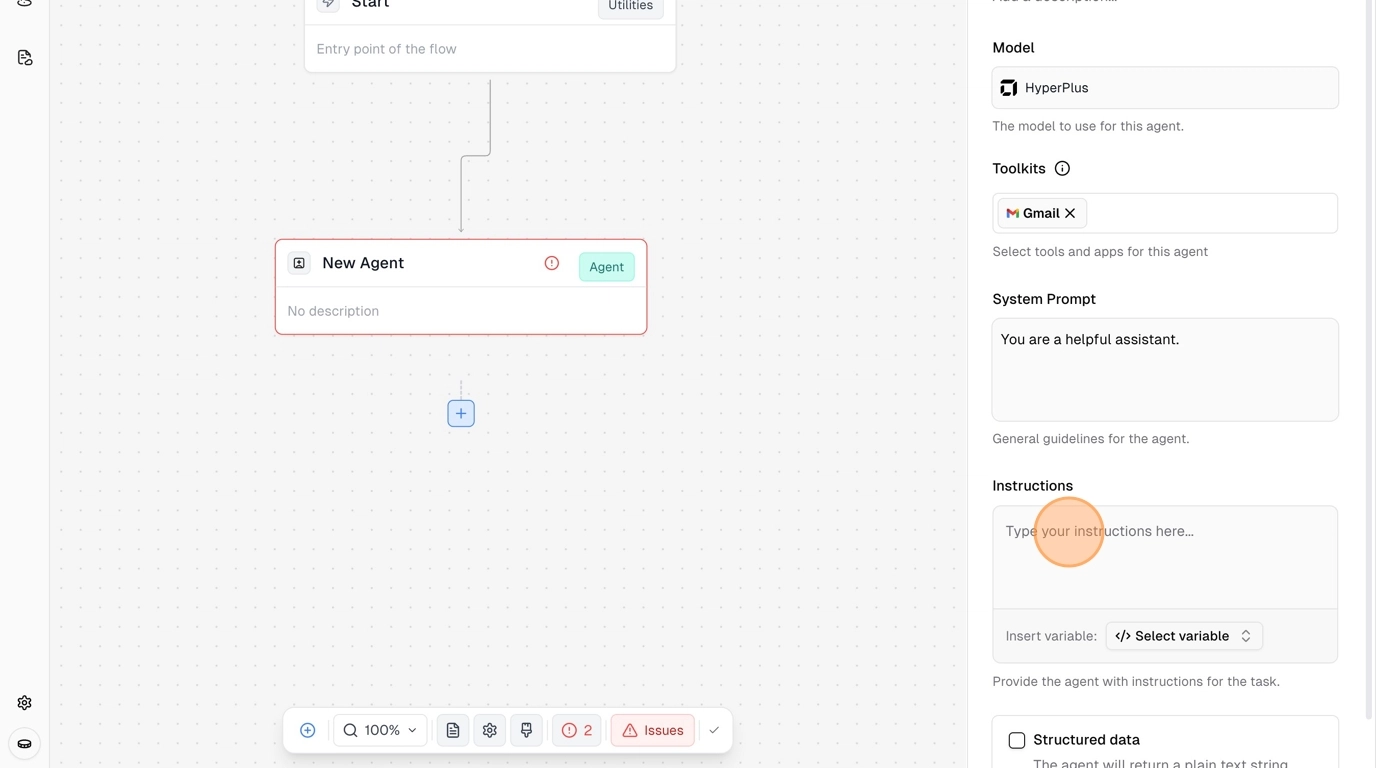
Complete Your Workflow
Every flow must end with an Exit node. Connect your agent to the exit node to complete the workflow. You can create complex workflows with multiple tools and agents - this is just a simple example.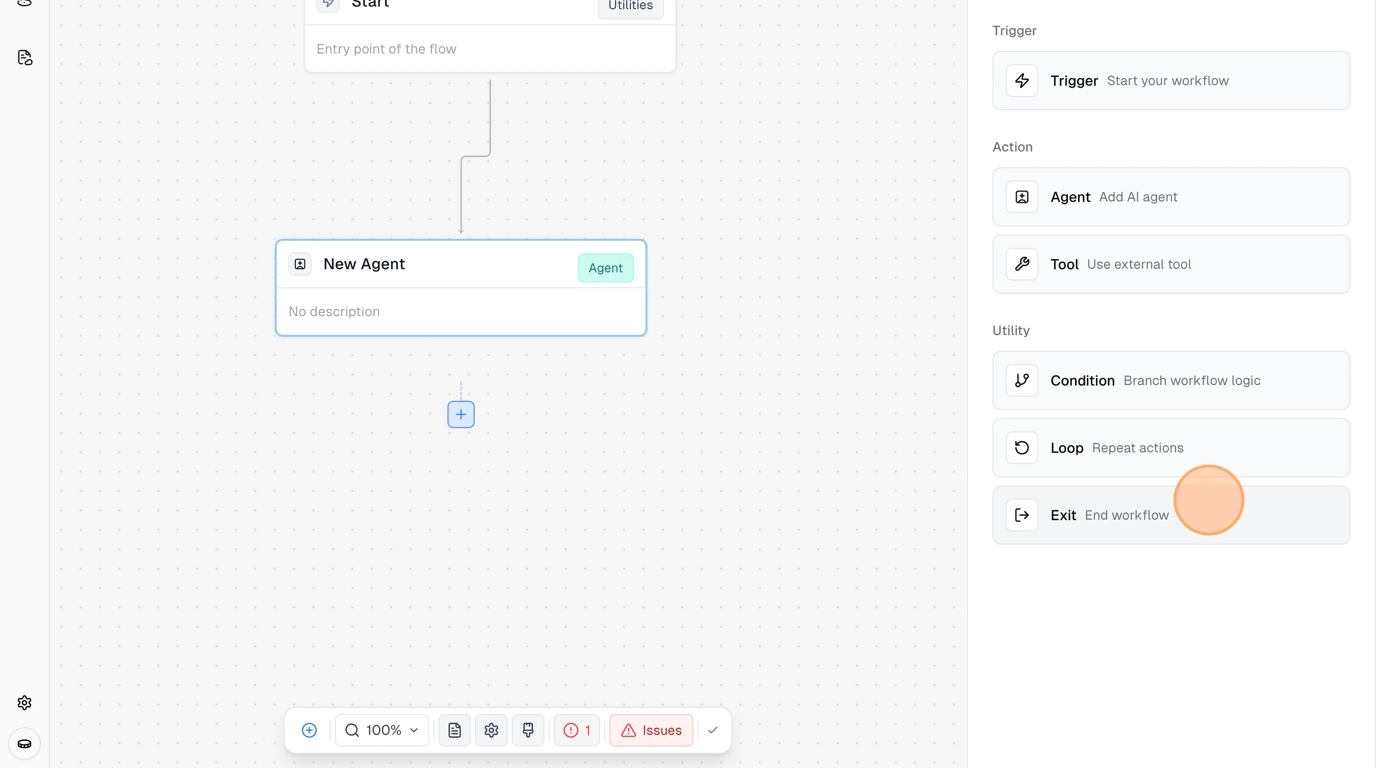
Test and Deploy
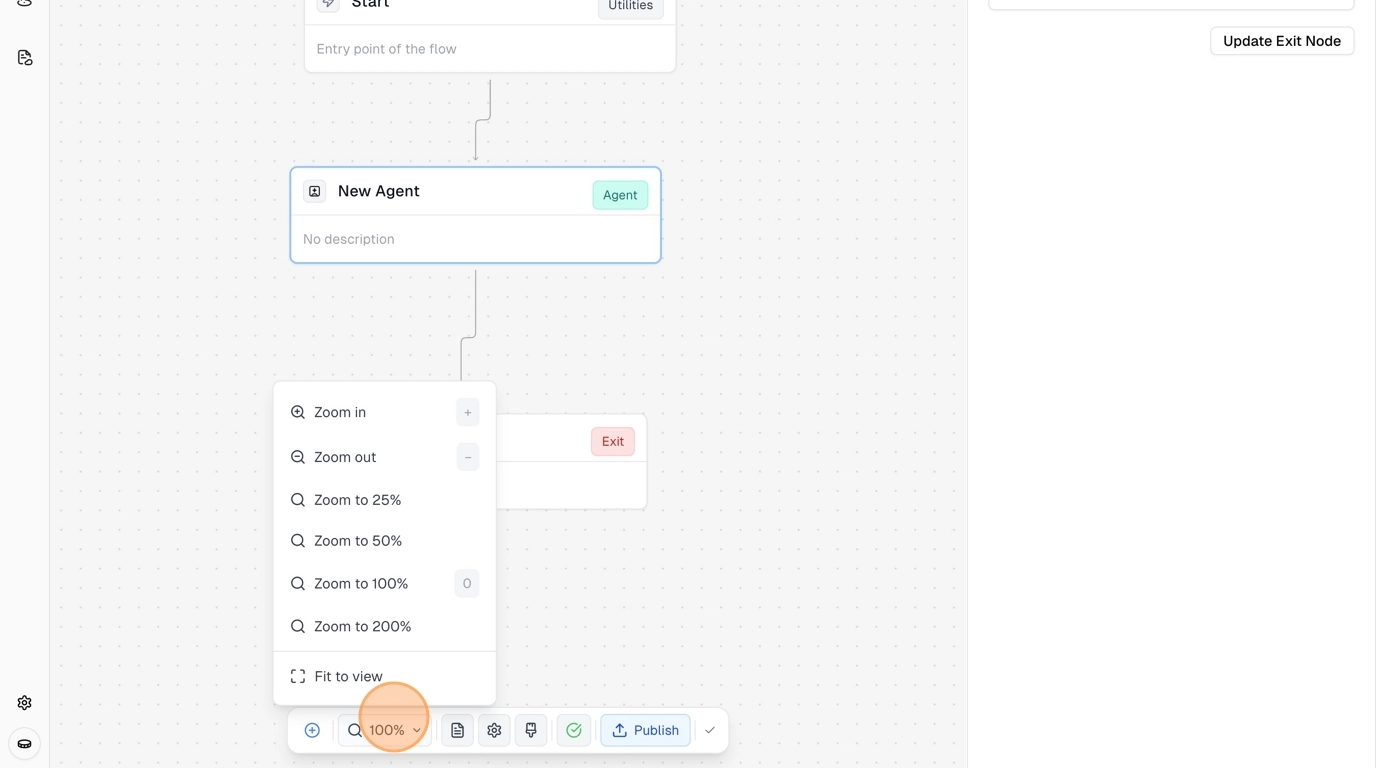
Workflow Management
In the workflow dock at the bottom, you can:- Add nodes and organize your workflow
- Add notes for documentation
- Check flow validation status
- Publish your workflow
Test Your Workflow
Click “Test Workflow” in the top right, then “Run Workflow Test”. Even if your trigger is set to schedule, the test will run immediately.
Monitor Your Runs
Click “Runs” to view your workflow execution history. You can see the event history, click on specific runs to view details, and monitor your agent’s progress in real-time.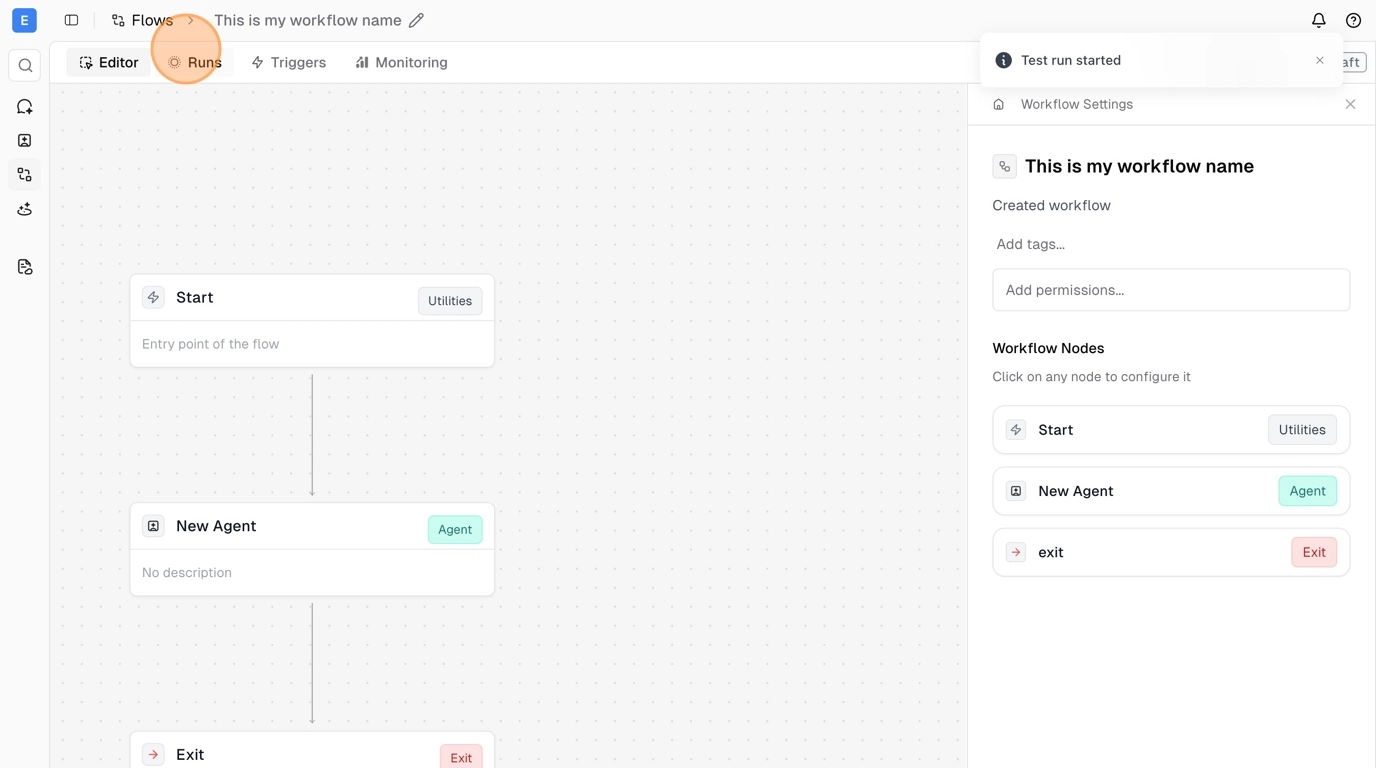
Publish Your Workflow
When you’re ready to go live, return to the editor and click “Publish” in the bottom dock. This is essential - your workflow will not run automatically until it’s published.
Additional Features
Flow Navigation
- Triggers Tab - View and manage all your available triggers
- Monitoring Tab - Monitor workflow performance and execution metrics
- Runs Tab - Detailed execution history and logs
Advanced Capabilities
- Multi-step Workflows - Create complex 20+ step workflows
- Conditional Logic - Add branches and decision points
- Error Handling - Built-in retry logic and error notifications
- Real-time Monitoring - Track execution and performance metrics